

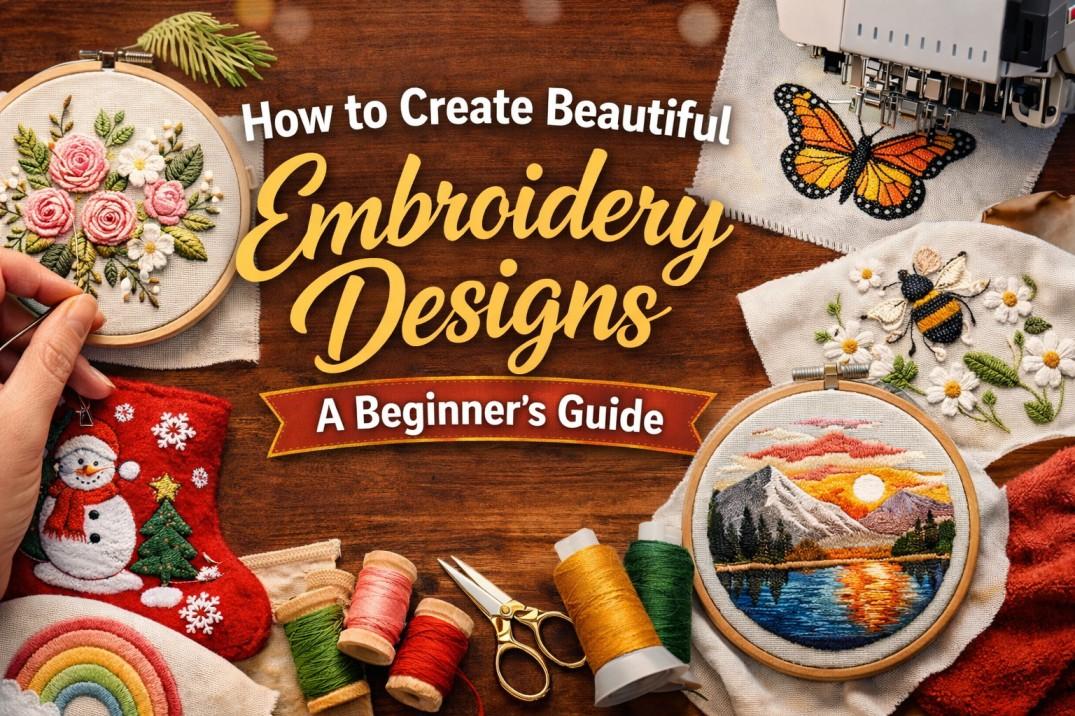
Embroidery is a wonderful and creative craft that allows you to add a personal touch to your clothing, accessories, and home décor. Whether you're just starting out or looking to improve your skills, creating embroidery designs can be an exciting journey. In this beginner’s guide, we’ll explore how you can create stunning embroidery designs from scratch, share helpful tips, and introduce various types of embroidery designs for beginners.
Step 1: Gather Your Materials
Before diving into creating embroidery designs, it’s important to have the right tools. Here's a list of basic materials you’ll need:
-
Embroidery hoop: Keeps your fabric taut while you work.
-
Needles: Special embroidery needles with a larger eye for easy threading.
-
Embroidery thread: Choose from a wide variety of colors and textures.
-
Fabric: Cotton is a great option for beginners, as it’s easy to work with.
-
Scissors: Small, sharp scissors are ideal for trimming threads.
-
Design pattern: You can find free embroidery designs for free or create your own.
Once you have your materials ready, you can begin planning your first design!
Step 2: Choose the Right Design
When starting out, it’s important to pick a simple embroidery design that won’t overwhelm you. For beginners, easy embroidery designs like basic shapes, flowers, or simple lines are a good choice. If you're looking to experiment with more advanced techniques, digital machine embroidery designs are a great way to create more intricate patterns.
You can start by browsing free machine embroidery designs to get inspiration. Zdigitizing offers a wide variety of digital machine embroidery designs that you can try out for free. These designs are a great way to practice before diving into more complex projects.
Step 3: Prepare Your Fabric
Preparing your fabric is an essential step in creating beautiful embroidery. Start by placing your fabric in the embroidery hoop. Make sure the fabric is smooth and taut to prevent any wrinkles while you stitch. If you’re working with a larger piece of fabric, trim it to the size of your hoop.
To ensure your design is centered, you can lightly draw it on the fabric with a pencil or disappearing fabric marker. This way, you can follow the lines easily as you stitch.
Step 4: Learn Basic Stitches
Now it’s time to learn some basic stitches! As a beginner, it’s important to familiarize yourself with a few foundational stitches that you can use to create beautiful embroidery designs. Here are some to get you started:
-
Running Stitch: A simple back-and-forth stitch for outlining or filling shapes.
-
Back Stitch: Great for creating solid lines.
-
Satin Stitch: A technique used to fill shapes with smooth, even stitches.
-
French Knot: A decorative stitch used to add texture or tiny details.
Once you get comfortable with these stitches, you can experiment with combining them to create more complex designs.
Step 5: Add Color and Details
Adding color is where the magic happens! Embroidery threads come in a variety of colors, and you can use them to bring your design to life. Choose colors that complement each other and experiment with blending or layering them for added depth.
If you’re working on designs for specific occasions, like Christmas, consider using embroidery designs for Christmas. Red, green, and gold threads work wonderfully for holiday designs, while blues and silvers can add a wintry touch.
Step 6: Finish and Trim
Once you’ve completed your design, it’s time to finish. Carefully remove the fabric from the hoop and trim any loose threads. You can leave the design as it is or even frame it for display. If you want to use the design on clothing or accessories, simply attach it to your chosen item using fabric glue or stitches.
Zdigitizing also offers tools that allow you to upload your designs to embroidery designs machine software, making it easier to create custom designs for a variety of projects.
Why Zdigitizing Encourages Creative Embroidery
At Zdigitizing, we believe in fostering creativity and providing resources for beginners and experienced artists alike. Our vast collection of digitized embroidery designs and tools helps you get started on your embroidery journey with ease. Whether you’re creating a personalized gift or adding a touch of beauty to your home décor, we’re here to support your creative process.
Final Thoughts
Embroidery is a rewarding craft that allows you to express yourself and create beautiful, handmade designs. As a beginner, start with simple patterns and gradually work your way up to more intricate projects. Whether you’re using hand embroidery techniques or exploring digital machine embroidery designs, there are endless possibilities to discover.
Explore our collection at Zdigitizing to find the perfect design for your next project. Happy stitching!
FAQs
-
What are the best embroidery designs for beginners?
Simple designs like flowers, basic shapes, and animals are perfect for those just starting out. -
Can I find embroidery designs for free online?
Yes, many websites offer free machine embroidery designs, including Zdigitizing. -
What’s the difference between embroidery designs machine and hand-stitched designs?
Machine designs are more precise and faster, while hand-stitched designs allow for more personal creativity. -
How do I digitize my own embroidery designs?
You can use embroidery software like Zdigitizing to create and digitize your own designs for machine use. -
What are some great embroidery designs for Christmas?
Christmas-themed designs like trees, snowflakes, and reindeer are popular, and many can be found for free or at a low cost online.